Setting up solar electric fences for farming is becoming a trend nowadays. Solar electric fences provide enough savings and boost the value of one’s farm. However, most people are hesitant to install solar fences because of the installation difficulty. Setting up solar panels should not be a nightmare; here are some useful tips to have a perfect solar-powered electric fence set up.
Type of Solar Electric Fence
The type of fence that you want to install on your farm will depend on the purpose of its use. If it is going to be permanent, the fence should be well-bedded. If it is meant for horse paddock, you will need taller fences than the standard height to guard smaller animals.
Installs Posts
Set up your fence by digging a hole through a post hole digger on either corner or end post. Ideally. The holes should be 2 feet. Insert the post, then use dry cement to cover the hole. Make use of string to give you a straight line while making another post for the fence.
All posts should be set overnight with dry cement for a harder and firmer fence. If you can leave the post for 48 hours before making another post would be better.
Set Up the Wire
Once you’re done setting up the posts, you can now install the wire. Install the wire from the end or corner post down to other posts. You can use tensioners and insulators to keep the wire stable and firm.
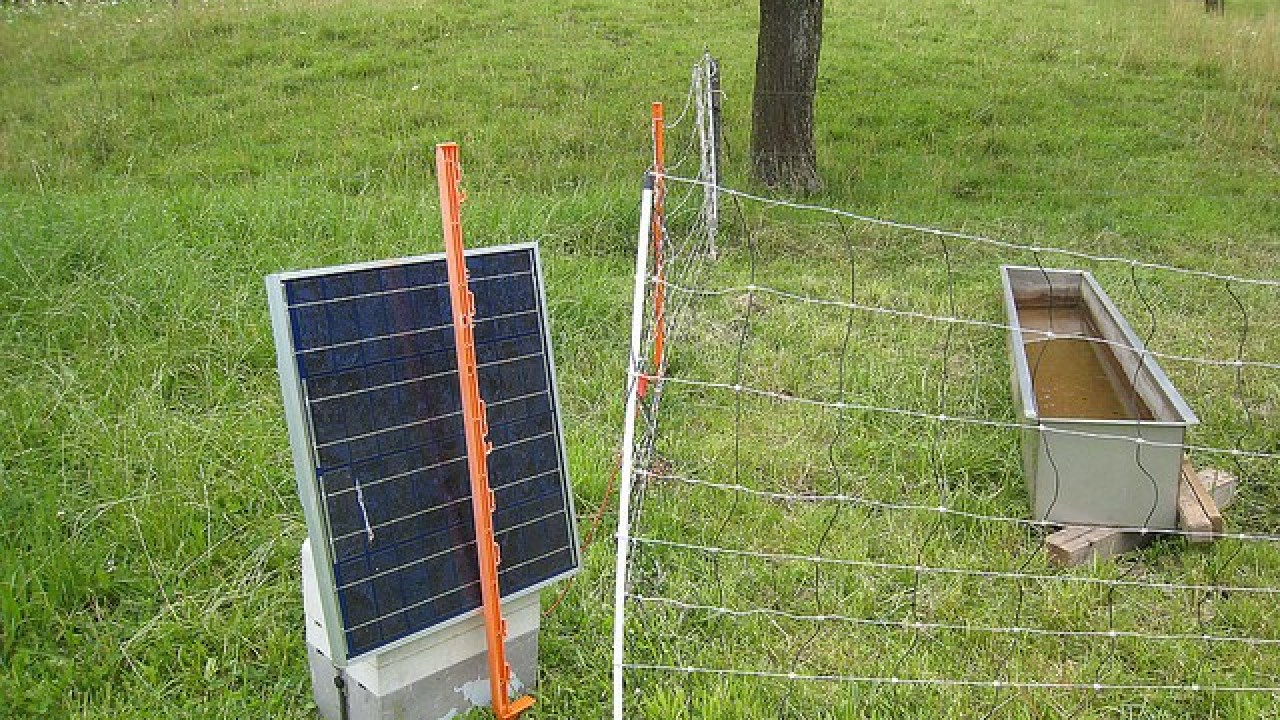
Install a Charging Unit
To ensure that your solar-powered electric fence is working, you need to set up a charging unit. To do this, dig another hole where you will put the charging unit. The hole should be near the corner post but should be away from the perimeter. Place the post like what you did in setting up the fence. Make sure that the charging unit is placed in a spot where it could receive much sunlight.
Mount the charging unit on top of the post. Now, you are required to make a ground bed. Just dig a shallow and small trench on the post and put the accurate number of rods. Connect the positive lead to the fence’s wire while the negative lead in the solar charger is attached to ground rods.
Test the Charge
The solar charger needs to receive direct sunlight for 24 hours to be energized and gives out power. After you have given the charger enough time, you can turn on the solar-powered electric fence. You should test the charge regularly through the electric fence tester. Only this way can you identify that the voltage is correct for your fence.
Final Words
Solar electric fence is in demand these days because it is convenient for remote areas. It improves the quality of the soil and better protects pasture animals. They are easily available and easy to set up. With direct sunlight, you charge the fences and allow them to operate for a week or two without hassles.